Renders
One of the best ways to promote your keycap set is to produce photorealistic renders, showcasing the keycaps both as kits and mounted on a range of keyboards. The best way to accomplish this is with Keyboard Render Kit and Blender.
To make it easier for you to quickly create these renders, a Blender file with
pre-configured keys and kits is available to all KRK2 customers, and can be
downloaded from Gumroad or BlenderMarket. Look for
the file called KAP_Legend_System_vX.zip (where X is the version number)
which when extracted contains KAP_Legend_System_vX.blend.
Adding to a project
Assuming you’ve downloaded and extracted the zip archive mentioned above, to add
it to a new or existing KRK project, go to File > Append and navigate to the
location where you extracted KAP_Legend_System_vX.blend, and double click it.
Within the file, double click the Collection folder icon, then select the item
called KAP Legend System, and click the Append button.
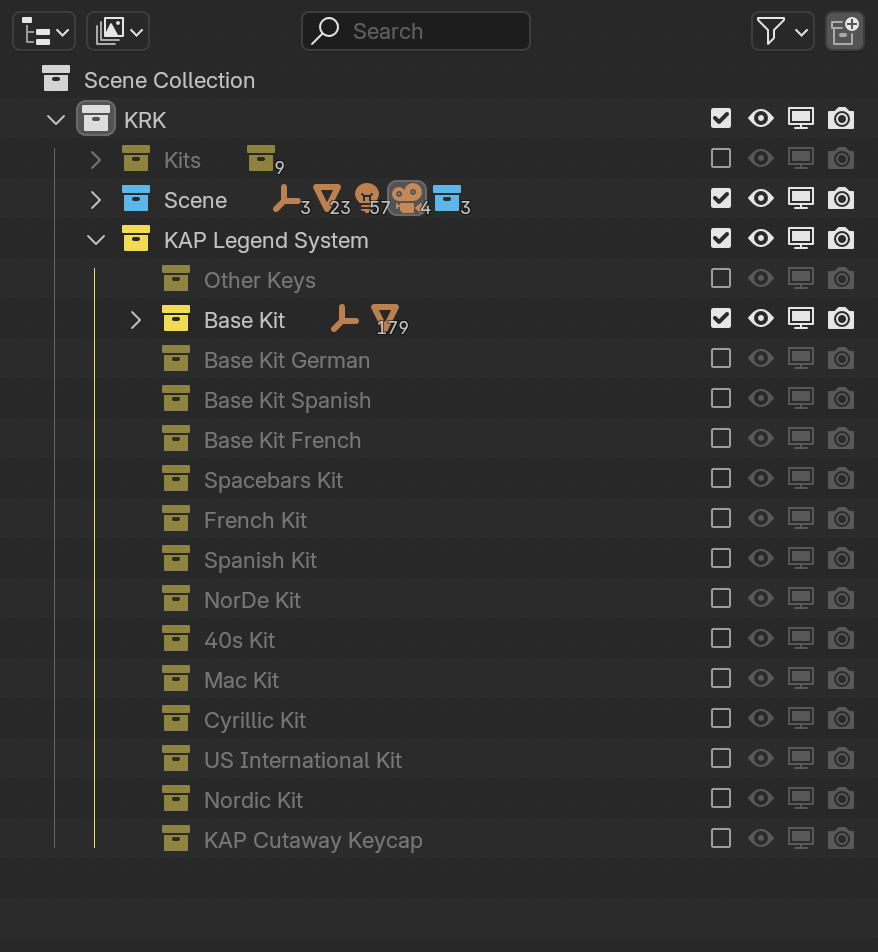
This will append all of the meshes, objects, materials and collections for all available keycaps and kits into your KRK instance. Immediately after importing all collections will be visible simultaneously, which will look a little messy; you can go into the Outliner panel and uncheck most of the kit collections under KAP Legend System to just restrict it to the Base Kit view to start out:
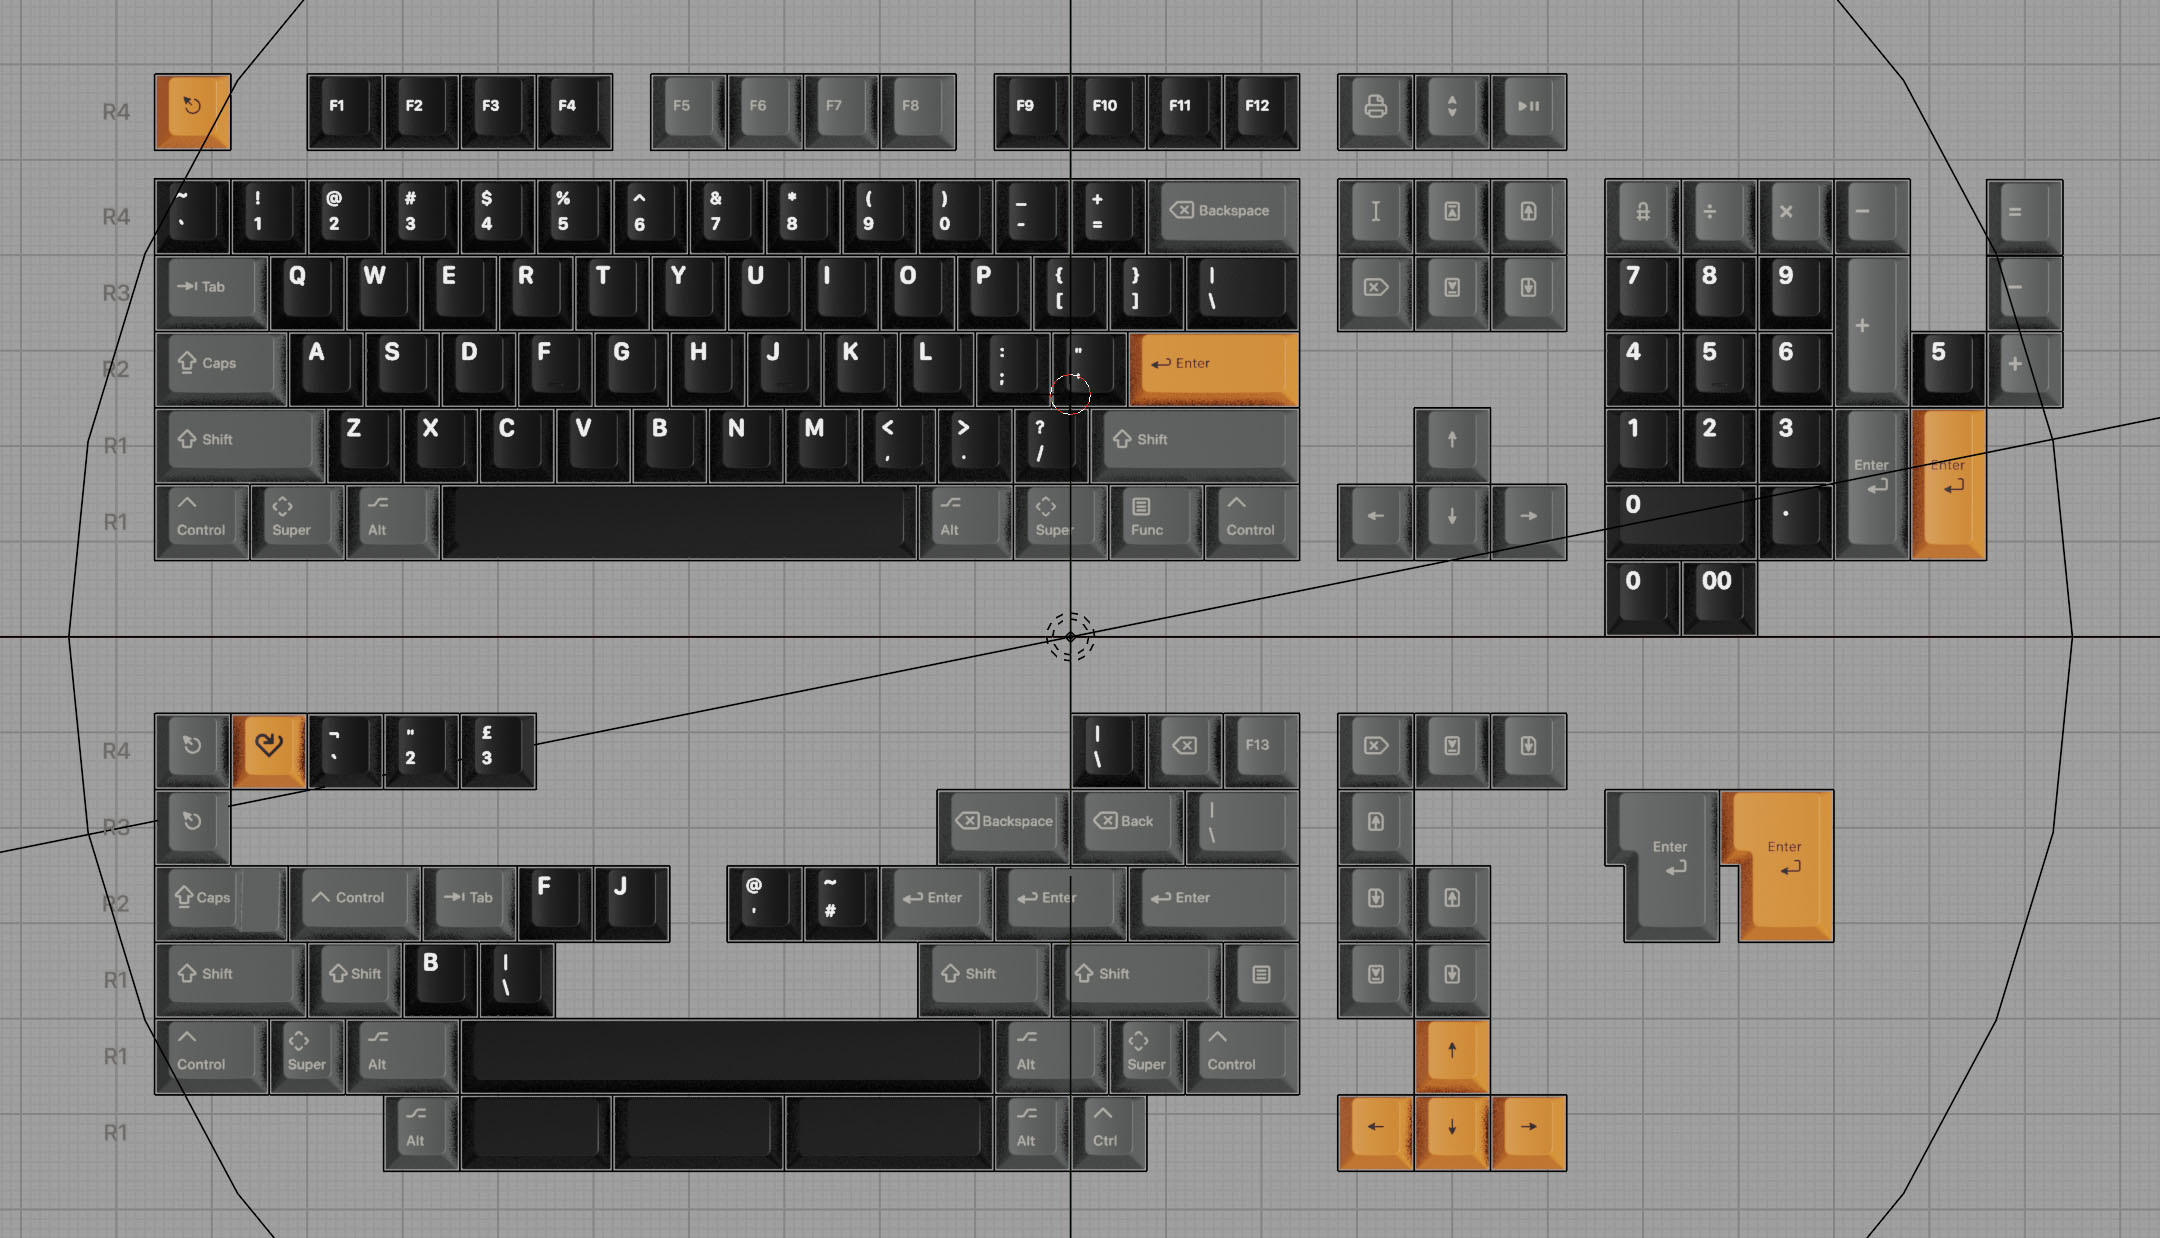
You should then see something like this in the main 3D viewport:
Kits
Within the KAP Legend System collection are sub-collections representing the most common kits:
- Base Kit (Default)
- Base Kit German
- Base Kit Spanish
- Base Kit French
- Spacebars Kit
- French Kit
- Spanish Kit
- NorDe Kit
- 40s Kit
- Mac Kit
- Cyrillic Kit
- US International Kit
- Nordic Kit
In most cases you shouldn’t need to make significant changes to these kits — beyond the color, sublegend and legend variants properties discussed below — before creating renders. Unless you have specific, specialist kit requirements and have a good understanding of kitting and layout compatibility we encourage you to use the kits as they are. The primary exception to this rule is to remove redundant keys (for example, if your alpha, modifier and accent keys are the same colours, you can remove the duplicate keys).
Assets
The KAP Legend System assets in Blender are heavily-customized variants of the default KRK assets; they feature customised meshes and materials, with legends and various material properties preconfigured. This should help you get up and running more quickly than by importing legend sheets and configuring them in the default KRK CapsMat material.
The standard tools provided by the KRK plugin will still work with these assets,
but note that the keycap profile for these objects is KAP instead of the
default CHE. The meshes for these objects have been modified to include an
alignment frame — untextured edges that align to the edges of the keycap unit
size. If you enable snapping to the nearest Edge at the top of the 3D Viewport,
you can easily drag keycaps around and have them snap to this frame.
As well as the customized keycap models, the Blender assets also include a set
of objects called RowLabel_X, where X is the row from R1 to R4. This
object contains the row label with a material that accepts a color input
property, set inside a 1u × 1u square. As with the keycap models, you can drag
this around on the X and Y axes and snap it to the edge of another keycap. This
permits you to create renders at any scale or from any camera angle with the row
labels correctly aligned to a row of keycaps.
Color Palette
The KAP Blender assets use the existing convention of using custom properties assigned to each individual keycap to map the various colored elements of that keycap. For simplicity these are set up to use the same color property for legend, sublegend and front legends — refer to the KRK documentation if you’d like to change this.
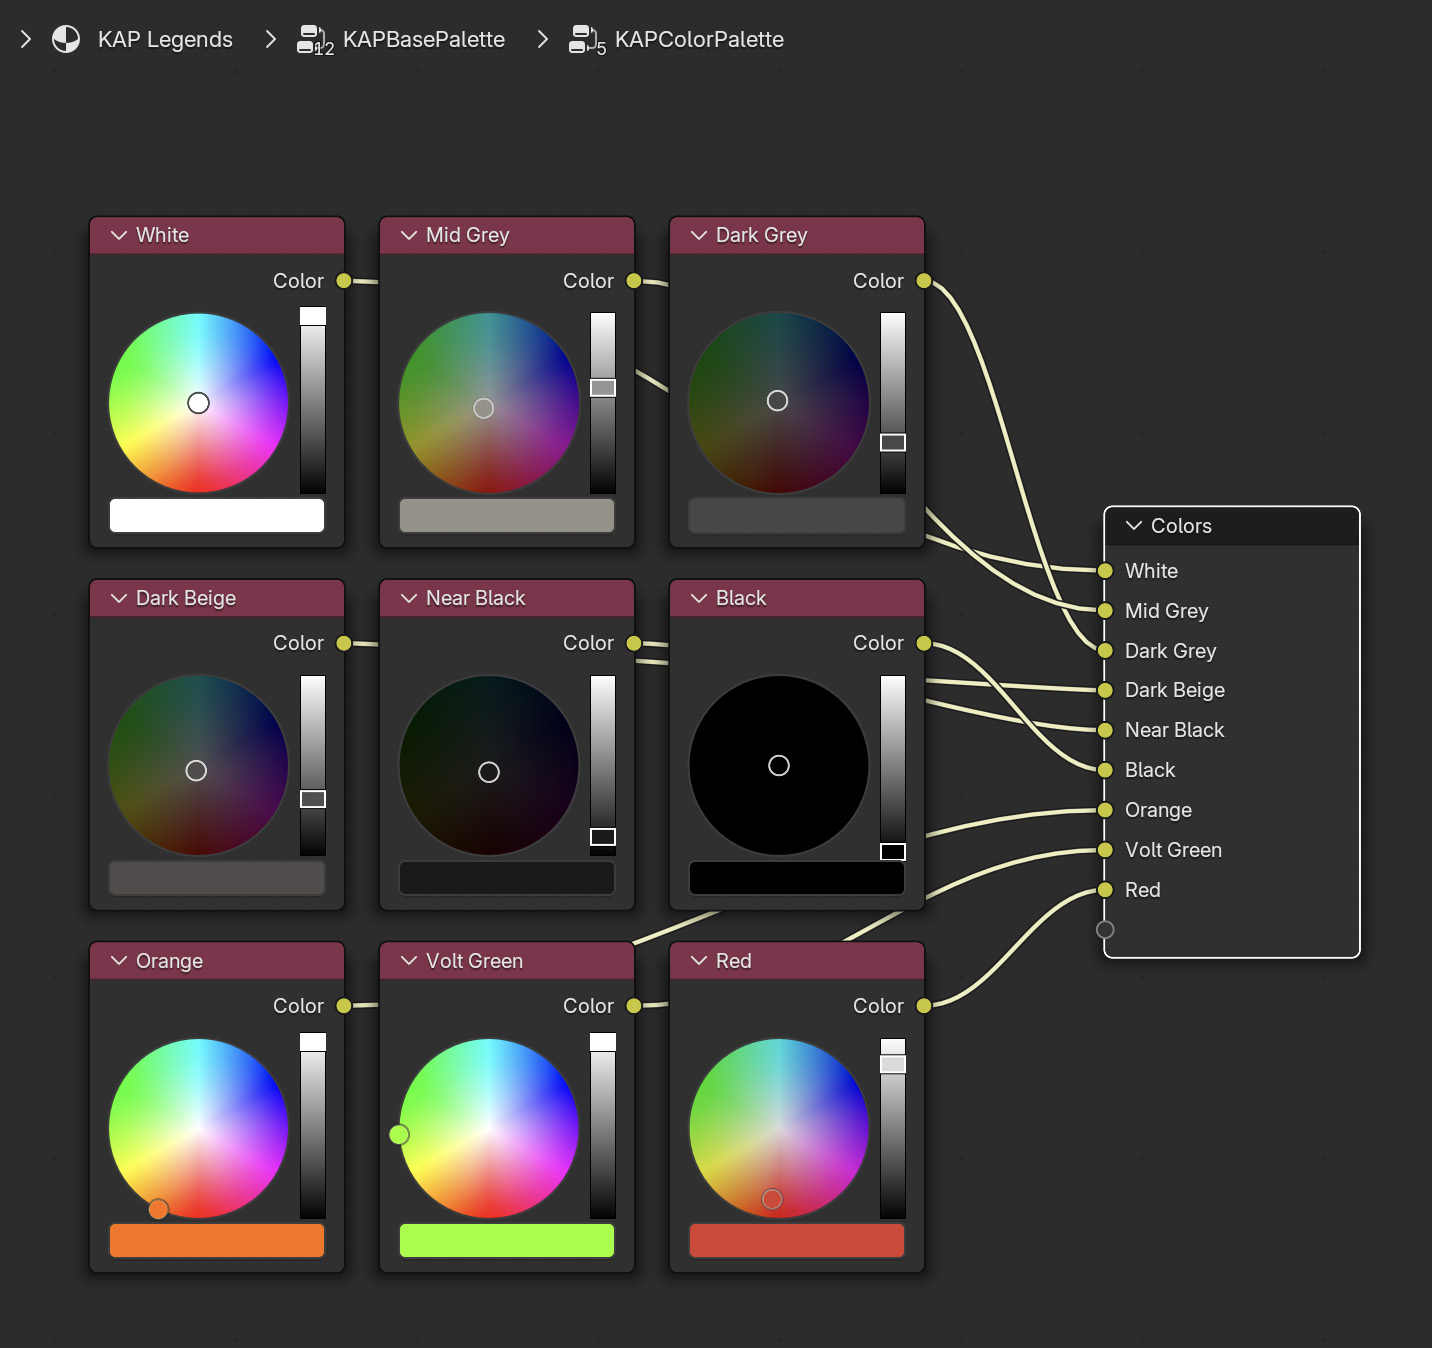
For convenience, a node group called KAPColorPalette exists which contains
several preconfigured colors. You can use this to keep a reference to a color
used across different elements of your set; it’s also connected within each of
the materials used on keycaps.
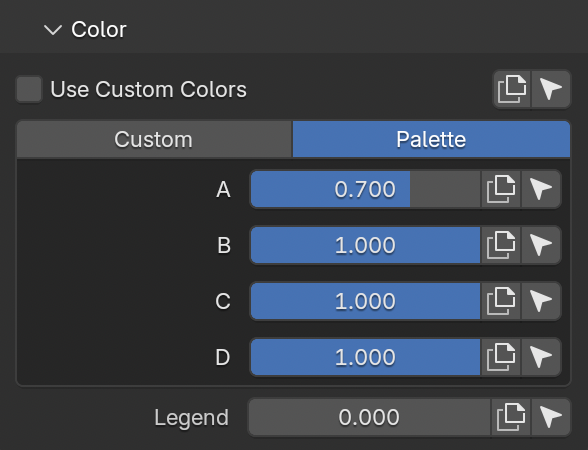
To change which color is being used for the base and legend of a keycap, select
the KRK side panel within the 3D Viewport, and scroll down to the Color
section below Keycap Properties. On the second tab, Palette, you can click
and drag the values for the properties called A and B to change the base and
legend color respectively, using values from the KAPColorPalette node group.
Alternatively you can set custom colors from the Custom tab.
To copy the same color properties to a set of selected keycaps, ensure that the key with the source colors is selected last (or ⇧ Click the source keycap), then click the Copy icon to the right of the color property in the KRK panel.
Material Properties
To minimize the setup work to get accurate and representative renders, several
properties typically exposed in the standard CapsMat material have been
internalized within KAP CapsMat with default values that more accurately
reflect the default PBT material used by KAP Legend System. These include:
RoughnessBumpScaleTopBumpSideBump
Since the moulds for KAP Legend System don’t significantly differentiate the
texture of keycap sides and tops (which aids with dyesub cohesion), the
TopBump and SideBump properties are configured to use the same value
internally.
Since KAP Legend System supports front facing doubleshot legends, the KAP CapsMat material has also been tweaked to show a mold seam, as with the top
legends.
Sublegends
KAP Legend System supports several sets of sublegends out of the box:
- Hangul
- Hiragana
- Katakana
- Ukraine Cyrillic
As with KRK, you can enable this by selecting the Image Texture within the material and pressing M:
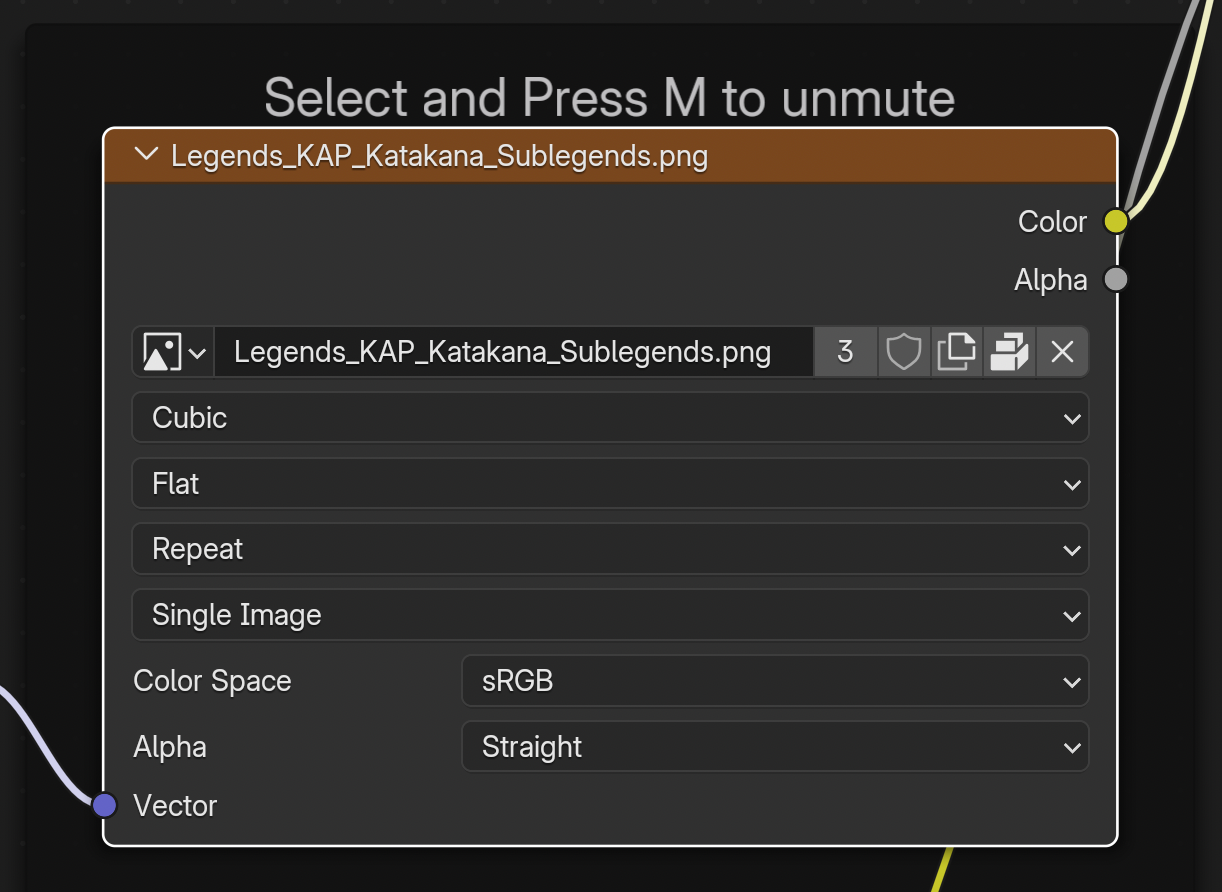
You can select a different set of sublegends by selecting the dropdown for filename, and typing to search for one of the other sets of sublegends, whose respective names are:
Legends_KAP_Cyrillic_Sublegends.pngLegends_KAP_Hangul_Sublegends.pngLegends_KAP_Hiragana_Sublegends.pngLegends_KAP_Katakana_Sublegends.pngLegends_KAP_JIS_Hiragana_Sublegends.pngLegends_KAP_JIS_Katakana_Sublegends.png
Note that as the names suggest two of these are explicitly intended for JIS keyboard layouts, and so unless you’re building a keycap set for those layouts, you should use the standard Hiragana and Katakana sublegend files.
Note that the ability to apply a particular sublegend to a particular key doesn’t guarantee that a mold insert exists for this combination of legends; you should refer to the Figma templates to ensure the key can be manufactured without creating a new insert. The main keys for which sublegend inserts have been created are the alpha keys and number row.
Modifier Variants
The majority of modifier keys for KAP Legend System are available in three variants:
- Default (Icon and Text)
- Text-only
- Icon-only
- Icon Alternates (see note below)
The Icon Alternates set of variants has not yet been manufactured, and will become available once it has been used in a forthcoming set.
To switch between the different variants you can use the Legend property within the Keycap Properties section of the KRK panel:

You can either click-drag to adjust the value, or type in a numeric value to switch between the available variants:
0.00- Default0.50— Text-only0.75— Icon-only1.00— Icon Alternates
Camera Settings
In order to keep a level of consistency with renders across different KAP sets,
a default kit camera is also included within the KAP Legend System collection,
called KAP_Camera_Kit. When rendering base kits, you should ideally use this
camera with its default position and an Orthographic Scale of 0.600. For
smaller kits such as the 40s Kit, Spacebars Kit or language extensions kits, you
can use an Orthographic Scale of 0.400 to zoom in slightly.